DIY Roof Inspections: Comprehensive 10-Step Guide for Homeowners
Maintaining a sturdy and leak-free roof is crucial for protecting your home and ensuring its longevity. Regular roof inspections play a vital role in identifying potential issues before they become major problems. While hiring a professional is recommended for comprehensive assessments, homeowners can conduct their own DIY roof inspections to stay proactive. In this step-by-step guide, we’ll walk you through the process of inspecting your roof and catching potential issues early on.
Step 1: Safety First When Doing Roof Inspections
Before you ascend to your roof, prioritize safety. Ensure you have a sturdy ladder placed on level ground and wear appropriate safety gear, including non-slip shoes and a harness if necessary. Clear the area around your ladder of any obstacles to prevent accidents during ascent and descent.
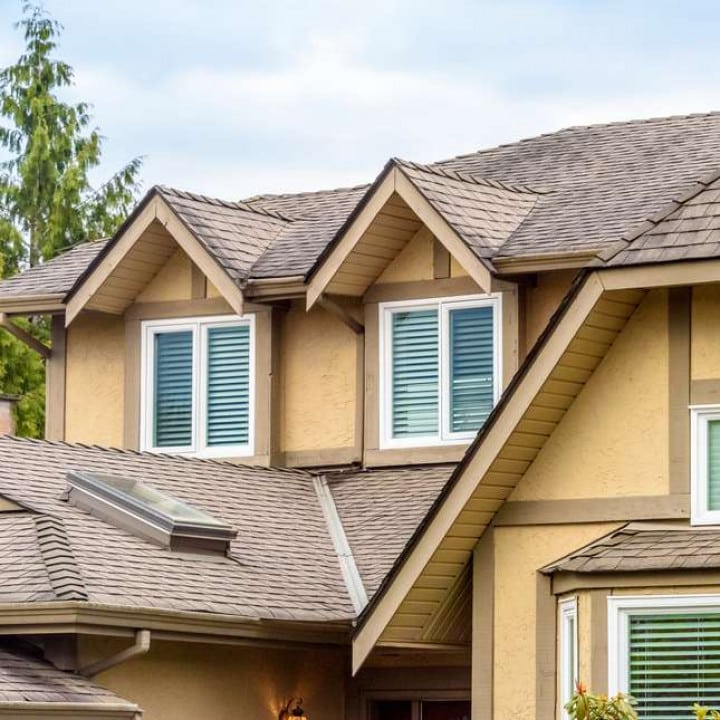
Step 2: Exterior Roof Inspections
Begin your DIY roof inspection by assessing the roof from the ground. Look for obvious signs of damage, such as missing or damaged shingles, warped flashing, or sagging areas. Binoculars can be useful for a closer look without the need to climb up immediately.
Step 3: Check the Gutters
Clean gutters are essential for proper drainage. Remove debris like leaves, twigs, and dirt from your gutters, ensuring water can flow freely. Clogged gutters can lead to water backup, which may damage your roof over time.
Step 4: Examine Flashing
Flashings, the metal pieces that cover seams and joints in your roof, play a crucial role in preventing water penetration. When doing DIY roof inspections, check for rust, cracks, or gaps in the flashing around chimneys, vents, and skylights. Damaged flashing can compromise your roof’s integrity.
Step 5: Inspect Shingles
Climb onto your roof and carefully inspect the shingles. Look for signs of wear and tear, such as cracks, curling edges, or missing pieces. Pay close attention to areas where shingles overlap, as these are common entry points for water. Replace any damaged shingles promptly to prevent leaks.
Step 6: Check for Moss and Algae
Moss and algae can accumulate on your roof, especially in damp environments. While these may not pose an immediate threat, they can trap moisture and accelerate the deterioration of shingles. Use a moss and algae cleaner or a mixture of water and bleach to remove them when performing roof inspections.
Step 7: Assess the Roof’s Structure
Examine the structural components of your roof, including trusses and rafters, for signs of sagging or damage. A compromised structure may indicate a more significant problem that requires professional attention.
Step 8: Inspect the Attic
Something you may not think of when it comes to roof inspections is inspecting your attic space. Head inside your home and examine the attic space. Look for signs of water damage, such as stains on the ceiling or walls, which may indicate a leaky roof. Ensure that the attic is adequately ventilated to prevent moisture buildup.
Step 9: Check Ventilation
Proper ventilation is essential for maintaining a healthy roof. Ensure that vents are unobstructed and functioning correctly. Inadequate ventilation can lead to heat and moisture buildup, accelerating roof deterioration.
Step 10: Document Your Findings
Take notes and photographs of any issues you discover during your DIY roof inspection. This documentation can be valuable when discussing concerns with a professional roofer or when comparing the condition of your roof over time.
Regular DIY roof inspections are a proactive way for homeowners to identify and address potential issues before they escalate into costly repairs. By following this step-by-step guide, you can play an active role in maintaining the integrity of your roof and protecting your home from the elements. While these inspections are beneficial, it’s crucial to schedule professional assessments periodically to ensure a comprehensive evaluation of your roof’s health. For more complex issues or professional assistance, it is important to contact a trusted roofing company like Ryno Roofing. With Ryno Roofing’s expertise and experience, homeowners can ensure that their roofs receive the attention and care they need to withstand any weather conditions.
TRUSTED ROOFING EXPERTS IN MINEOLA, TX
Since 2018, we've been delivering stellar roofing services to Mineola, TX and surrounding areas. We serve residential clients and have been receiving positive reviews since we launched. We take pride in our team of roofing professionals who we taught and trained intensively.
BEAUTIFUL, LONG-LASTING ROOFING SYSTEMS
Your family deserves a roofing system that's weatherproof and lasts for many years to come. Rest assured that we use only the finest materials and advanced technology to help you achieve just that.